ClickFunnels offers different features on its online platform to help brand owners customize and integrate their marketing funnels. If you’re a ClickFunnels user, make sure you’re taking advantage of the Page Editor feature.
The ClickFunnels Page Editor lets users edit their funnel pages within the account. This includes adding sections/rows, hyperlinking text and buttons, saving elements as templates for later use, adding pop ups, and more. If you made a change you don’t like, you can even restore the previous version.
The ability to edit pages within your funnels is essential for every ClickFunnels user. We’ll help you learn how to access this helpful ClickFunnels tool and use it to its full potential. Follow along with the steps below to make edits to your funnel pages.
Working With The ClickFunnels Page Editor
Here’s how you can use the basic features of the ClickFunnels page editor and enhance your funnel-building skills:
a. Accessing The Editor
1. Sign into your ClickFunnels account and select Funnels from the top menu. This will show you the list of funnels on your account.
2. Select the funnel you want to edit by clicking on its name. This will take you to another screen with tools and functions for the selected funnel.
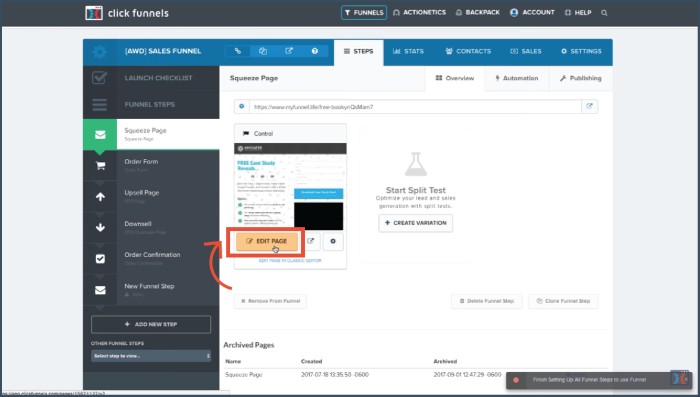
3. Select the Edit Page option, which will direct you to the Page Editor.
4. Once you have accessed the Page Editor on your screen, you can easily edit titles, headings, buttons, and other elements.
5. At the top of the page is the toolbar, which allows you to exit the Page Editor and access Mobile and Desktop preview versions of your pages.
b. Adding Sections In ClickFunnels
Make sure you have an existing funnel before you try to add sections with the Page Editor.
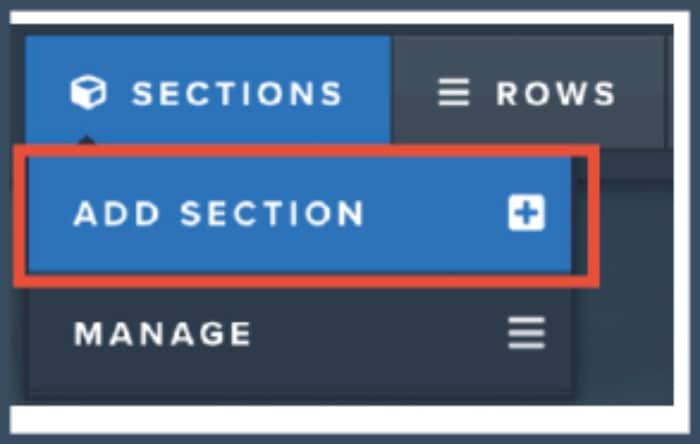
1. Once you’ve accessed the Page Editor, go to the Sections tab from the top menu and click Add Section.
2. Then you can add whatever elements you want to your newly added section.
c. Adding Rows In ClickFunnels
1. From within the Page Editor, navigate to the top menu and select the Rows tab. Then, choose Add Row from the drop-down menu that appears.
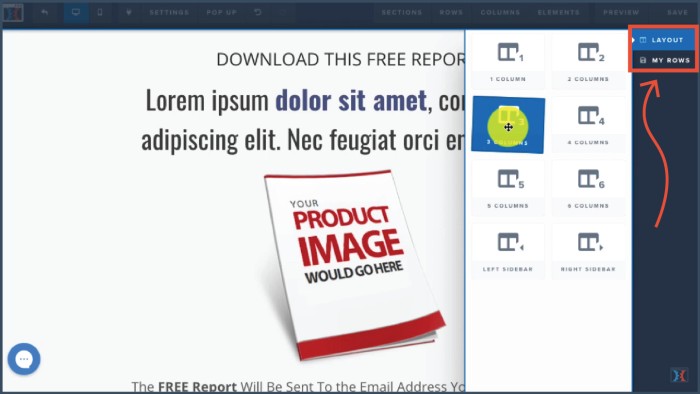
2. This will pop open a side menu bar with tabs that are labeled Layout and My Rows.
Now you can choose any number of columns for your new row from the different column layouts.
You can also select an existing row template that you may have saved before from the My Rows tab.
3. Once you have selected a template, you can drag and drop it on your page.
4. There is an alternative way to add a row to your page from within the Page Editor. Simply select an existing row on your page by scrolling and finding an element with a blue border.
Once you have selected a row, there will be a blue + sign at the bottom. Click that, and it will pop open the side menu for row templates.
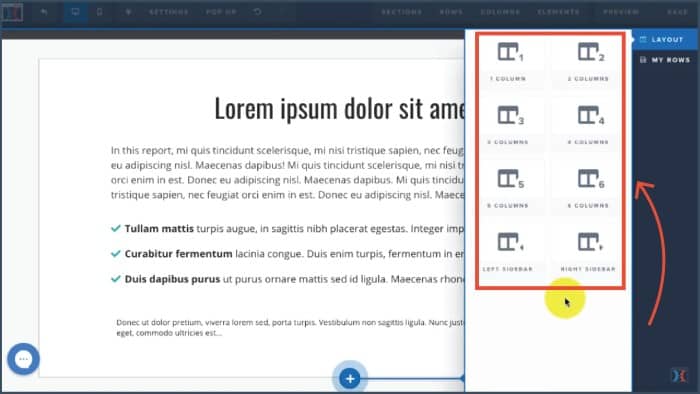
5. Select the template you want to add, and the new row will appear on your page.
d. Saving Sections & Rows As Templates
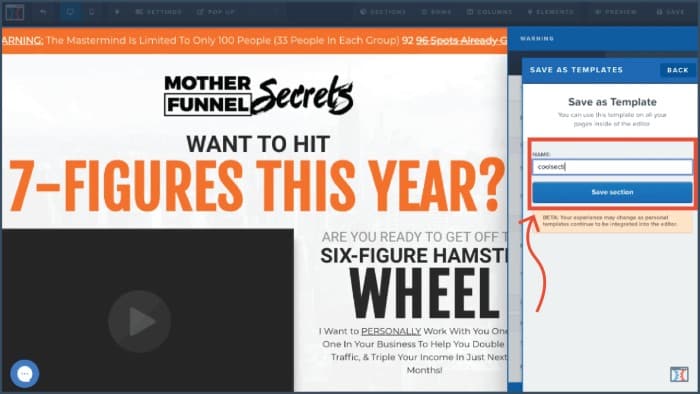
1. With the Page Editor open for your specific page, select a section (which is marked with a green border). Once your cursor is hovering on a section, choose the Save option from the side icons.
2. This will bring up a side tab with the Save Template option. You can save your selected section as a template by naming it and selecting Save Section.
3. Similarly, find a row on the page (which will have a blue border) and highlight it. Then, choose the Save option from the icons that appear.
4. Name your template in the sidebar and select Save Row.
5. To use your saved section and row templates, exit the Page Editor and select another page from your funnels to edit.
6. From the top menu, select Sections and then Add Section.
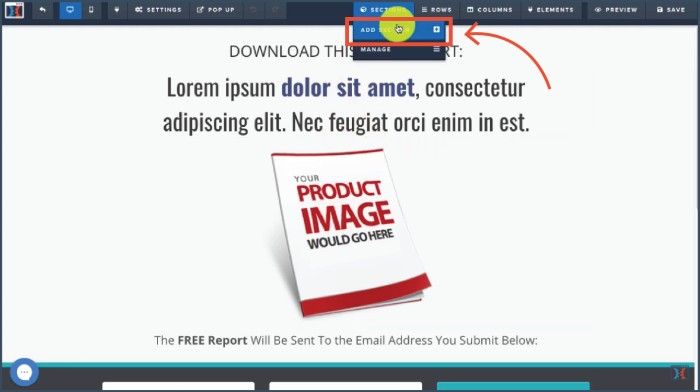
7. Choose your saved section template from My Templates and drop it on the page.
8. Now to add your saved row template, simply hover on an existing row on the page. Add a row by selecting the + sign at the bottom. From My Rows, select and click your saved template.
e. Hyperlinking Elements Using Page Editor
If you want to add or edit the text or buttons of your landing pages to direct the user to another window, open the Page Editor and follow these steps.
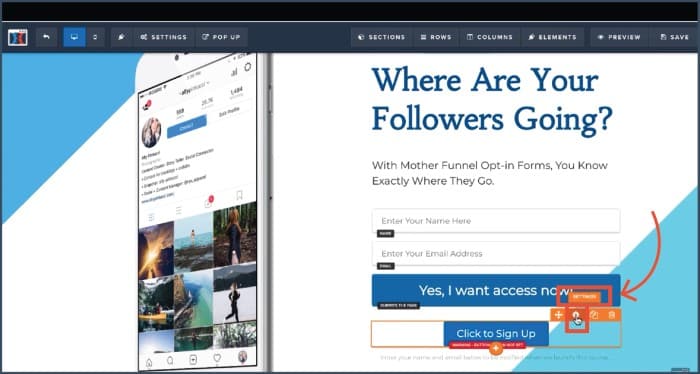
1. After adding a new button, select the Settings icon by hovering over the button.
2. From the side menu bar, choose Set Action and insert the website URL you want the user to be directed to.
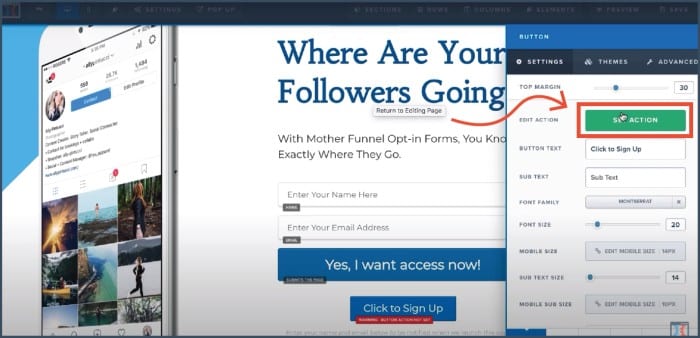
3. Then choose Open In New Tab/Window or Open in Same Window from the drop-down menu below.
4. Now your button is hyperlinked and will take your user to your selected address.
5. To hyperlink text, choose a block of content on the page. Highlight the text you want to hyperlink. Click the link icon above the text and insert a website address in the field that appears.
6. If you want the link to open in the same window, select the icon on the right to enable this function.
f. Adding A Pop-Up In ClickFunnels
You can use pop ups on your ClickFunnels landing pages to gain more traffic or to grab your viewer’s attention. Once you have selected the funnel and page you want to add a pop up to, open the Page Editor.
It is recommended to add a pop up to an Opt-In page so that your visitors will see it as they are about to leave the page.
1. Once you’ve accessed the Page Editor, go to the Pop Up tab from the top menu bar and click Show Pop Up.
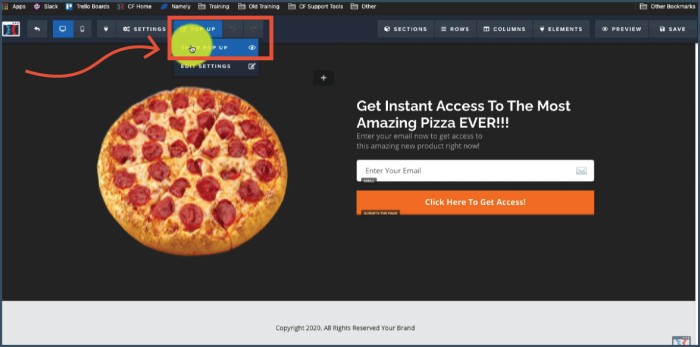
2. From the box that appears on screen, select the + sign to add a new row. Next, choose a column template as well as the other elements that you want to include in your pop up, such as headline, email address, buttons, etc.
3. Next, select Edit Pop Up Settings and make adjustments according to your preferences. For instance, you can make the pop up appear when a visitor takes a specific action.
4. If you want some other trigger response, you can hit the Advanced tab and choose a delayed appearance of the pop up. You can also select Fade in and set the number of minutes or seconds for when you want the pop up to appear once a visitor is on the page.
5. Once you’re done making changes, you can hit the Save tab on the top right corner of the page and then select Preview.
6. If you want to test the trigger setting for your pop up, you can try to leave the page and see if your pop up appears.
g. Restoring An Older Page Version
If you made some changes to your landing page that you don’t want to keep, you can restore an older version as well as other versions that are stored within ClickFunnels’ memory.
1. Once you have selected the funnel of your choice and the page, select the settings icon beside Edit Page.
2. You can then scroll through all of the saved versions of your page on ClickFunnels from the last 30 days. You can select a version and choose Preview to make sure that it is the one that you want to restore.
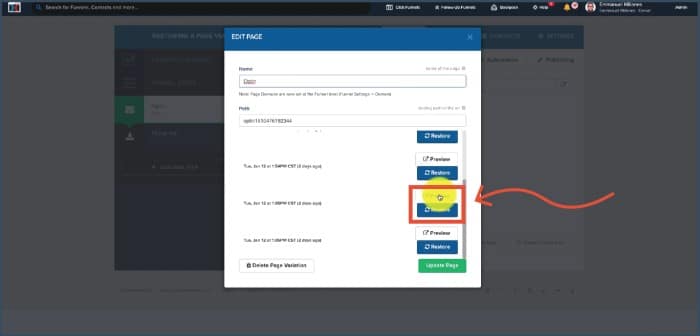
3. Click Restore. A message will appear at the bottom of the page to notify you that your previous page version has been restored.
Summary
The ClickFunnels Page Editor allows businesses to carry out multiple functions for their landing pages, such as adding or removing sections and rows and using different elements as templates.
This feature lets ClickFunnels’ users customize their pages according to their distinct marketing strategies.
The ability to edit pages and add customizable sections is hugely helpful for anyone who cares about their online presence.